 Many people enjoy gardening either to grow their own food, cannabis, or as a rewarding hobby. Nurturing your own plants from tiny starts to beautiful flowers or vegetables brings a sense of self-satisfaction and can also save some money when you grow the things that you enjoy. Growing your own plants with seed starting can be even more economical than purchasing nursery starts and you can get a head start on the growing season and get your hands dirty early.
Another benefit of seed starting is that you have a much wider selection on the varieties of fruits and vegetables, heirloom flowers or cannabis strains as many particular types of plants are only available in seeds.
Getting Started Growing with Seeds
Choosing Your Seeds
It is best to keep it simple when you first begin seed starting and to choose varieties that are easy to start indoors. Some good seeds that are especially simple to start inside would be marigolds or zinnias for flowers, tomatoes for vegetables, and herbs like basil, chives, or dill. You will want to read the directions on the seed packets as different types of seeds have different requirements for lighting and watering to germinate properly.
Use the Right Containers
You can start seeds in just about any type of container that has drainage holes and is at least 2 to 3 inches deep. Some premade trays are nice for starting seeds or you can even put some holes in yogurt cups or paper cups. A garden center and hydroponic grow store can offer you all of the growing equipment and supplies including containers, quality soil or soilless grow mediums to get you started.
Prepare the Soil
You will want to choose the right type of potting soil that is designed for starting seedlings as it is finer and more porous, which allows for better drainage. Use a high-quality, fresh mix without added fertilizers to make sure your seedlings grow healthy and disease free. Moisten your potting soil without sopping it, fill your containers and pack it somewhat firmly.
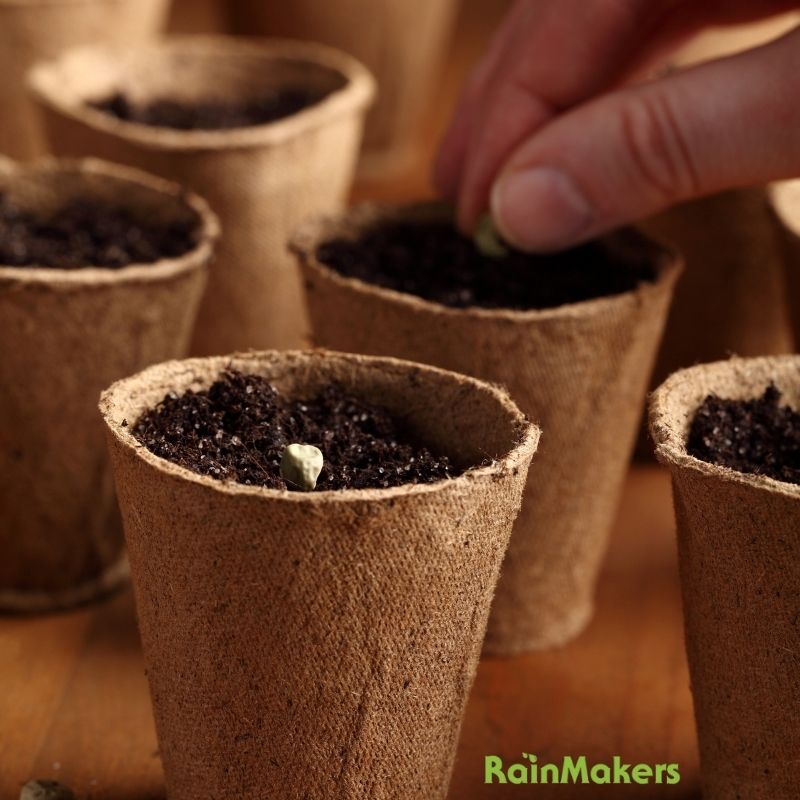
Plant Your Seeds
Check your seed packet for directions on how deep to plant the seeds. Some small seeds are meant to be sprinkled on top of the soil surface, larger seeds will need to be buried. Just make a little divot in the soil, drop your seed in and cover it up. Read the directions carefully as some seeds may need to be chilled, nicked or presoaked before planting. Some seeds need light to germinate while others require darkness. Check the sprouting time as some seeds may take weeks before sprouting while others can pop through the soil in a few days.
Keep Organized Records
It is best to keep track of important information in a gardening journal, a calendar, or an app. You will want to keep track of details for each variety, such as the date of planting and germination, the fertilizing schedule, and when you can transplant outdoors. Check the last frost free date in your area to get a good idea on when you can move your starts outside. Label each pot with the type of seed and the date of sowing.
Once you get your seeds in your containers and everything is organized and labeled, the fun part begins with managing water, light, nutrients and watching your plants grow.
Water
You generally want to keep your soil evenly moist without being soggy. It is important to not let the soil dry completely as that can kill your seedling and prevent germination altogether. You can gently mist the surface of the soil to avoid dislodging delicately placed seeds. You can also place your container with holes in a shallow tray of water for about 20 to 30 minutes until the top of your soil feels moist.
Do not leave your seedlings sitting in water as that can promote fungal disease and suffocation. Using water at room temperature can help to prevent plant shock and maintain the right temperature for your seedlings.
Temperature and Ventilation
It helps seed starting and germination to maintain a warm temperature and provide ventilation. You can use a fan that comes on with your grow lights. The average temperature in households ranges from 65° to 75°, which is adequate for most seeds to germinate. Keep your containers in a draft free, warm location and check on them regularly.
Lighting
Most seedlings require a lot of light and even a sunny windowsill may not be enough. If you are growing in a south facing window location, be sure to rotate your containers to prevent leaning. Seedlings that do not get enough light become long, leggy, and weak. You will most likely have better results and vigorous growth by using grow lighting for about 15 hours a day.
Position LED lights about 12 inches above or florescent lights 3 to 4 inches above the top of the seedlings. If your plants grow long and leggy your lights are too far away, if the tops of your plants yellow or brown your lights are too close. Use a timer so that your seedlings get the darkness that they need as well. Raise your lights as your seedlings germinate and start to grow.
Gradually Acclimate Your Seedlings Outdoors
You want to slowly introduce your seedlings to the outdoors by taking them outside daily, in a protected spot, for a few hours of sunlight and bring them in at night as the weather gets warmer. This hardens your plants, and they can be left uncovered at night when the temperature remains above 50° F.
After 7 to 10 days of acclimating your plants outdoors, you should be able to permanently plant outside. Water before and after transplanting and do not plant outdoors during the hottest time of the day.
RainMakers Supply offers all the growing supplies and equipment you need with quality soils, grow media, lighting, nutrients, and more including exceptional customer service. Get your garden started early and ask our grow experts for the best seed starting tips.